
Looking for a light as a cloud cheesecake recipe? Look no further, you've come to the right place! Japanese cheesecake, also known as “Japanese Cotton Cheesecake,” is the perfect dessert to impress your guests with its airy and fluffy texture. This unique cake combines the richness of a traditional cheesecake with the lightness of a soufflé. In this article, we'll guide you step by step to successfully make this delicious cake, with tips and tricks to achieve the perfect texture every time.
Why choose Japanese cheesecake?

Japanese cheesecake is different from its American or European counterparts. Its airy texture is achieved by incorporating egg whites beaten into the batter, which gives the cake its soft appearance and lightness in the mouth. In addition, it is less sweet and more subtle in taste, making it an ideal dessert after a heavy meal.
The essential ingredients for a successful Japanese cheesecake
To make a perfect Japanese cheesecake, here are the ingredients you will need:
- 250 g cream cheese (Philadelphia type)
- 50 g unsalted butter
- 100 ml of whole milk
- 6 eggs (separate the yolks from the whites)
- 140 g caster sugar
- 60 g all-purpose flour
- 20 g cornstarch (Cornflour)
- 1 tablespoon lemon juice
- 1 teaspoon vanilla extract
- 1 pinch of salt
- Icing sugar (for decoration)
Step 1: Prepare your mold and oven
Before you begin, preheat your oven to 150°C. Prepare a springform pan of 20 cm in diameter by covering it with parchment paper. Wrap the outside of the pan with aluminum foil to prevent any leakage when cooking in a bain-marie. The bain-marie is essential for even and gentle cooking, ensuring that the cheesecake does not crack and remains moist.
Step 2: Prepare the creamy base
In a saucepan over low heat, melt the cream cheese with the butter and the milk. Stir constantly with a wooden spatula until smooth and homogeneous. Remove the pan from the heat and let cool for a few minutes.
Then add the egg yolks, one by one, mixing well after each addition. Then add the lemon juice and thevanilla extract to flavor your preparation. Sift the flour and the cornstarch over the mixture and stir gently to avoid lumps forming.
Step 3: Beat the egg whites until stiff.
In a large bowl, beat the egg whites with a pinch of salt using an electric mixer. When the mixture begins to foam, gradually add the Powdered sugar while continuing to beat until stiff and glossy. The whites should form peaks when you lift the beaters.
Step 4: Add the egg whites to the dough.
Add about a third of the beaten egg whites into the cream cheese mixture and mix gently with a spatula. This first incorporation helps to loosen the dough. Then add the rest of the egg whites in two batches, mixing gently so as not to break the egg whites. Use an up-and-down motion to incorporate the air and obtain a smooth, airy dough.
Step 5: cooking in a bain-marie
Pour the batter into the prepared pan. Tap the pan lightly on the counter to remove any air bubbles. Place the pan in a large baking dish and pour hot water halfway up the springform pan to create a water bath. This will help the cheesecake cook gently and evenly.
Bake for about 60 to 70 minutes or until the top of the cheesecake is golden brown and the center is still slightly jiggly. Turn off the oven, crack the door open, and let the cake cool slowly inside for about 15 minutesThis step prevents the cheesecake from suddenly collapsing when it comes out of the oven.
Step 6: Cooling and demolding
Remove the cheesecake from the oven and allow it to cool completely to room temperature before refrigerating for at least 4 hours, or ideally overnight. Cooling allows the flavors to develop and the texture to stabilize. Once cooled, carefully unmold your cheesecake by removing the parchment paper.
Tips and tricks for a perfect Japanese cheesecake
1 – Use room temperature ingredients
For a smooth, lump-free texture, make sure all your ingredients (cream cheese, butter, milk, eggs) are at room temperature before you begin. This will make it easier to incorporate the ingredients and avoid temperature differences that can affect the cooking process.
2 – Be gentle with the egg whites
Beaten egg whites are the key to the lightness of Japanese cheesecake. When folding in the whites, use gentle, light movements to avoid breaking them. Overmixing can cause the whites to collapse, making the cake less fluffy.
3 – Check the oven temperature
Japanese cheesecake requires a gentle and slow cooking process. Be sure not to overcook 150°C. If your oven is too hot, use an oven thermometer to check the actual temperature and adjust if necessary. Too hot a temperature may cause the top of the cheesecake to crack.
4 – Do not overload the mold
Leave enough room for the cake to rise as it bakes. If you use a smaller pan, the cheesecake may overflow and not bake evenly. A pan of 20 cm is ideal for this recipe.
5 – Decoration and customization
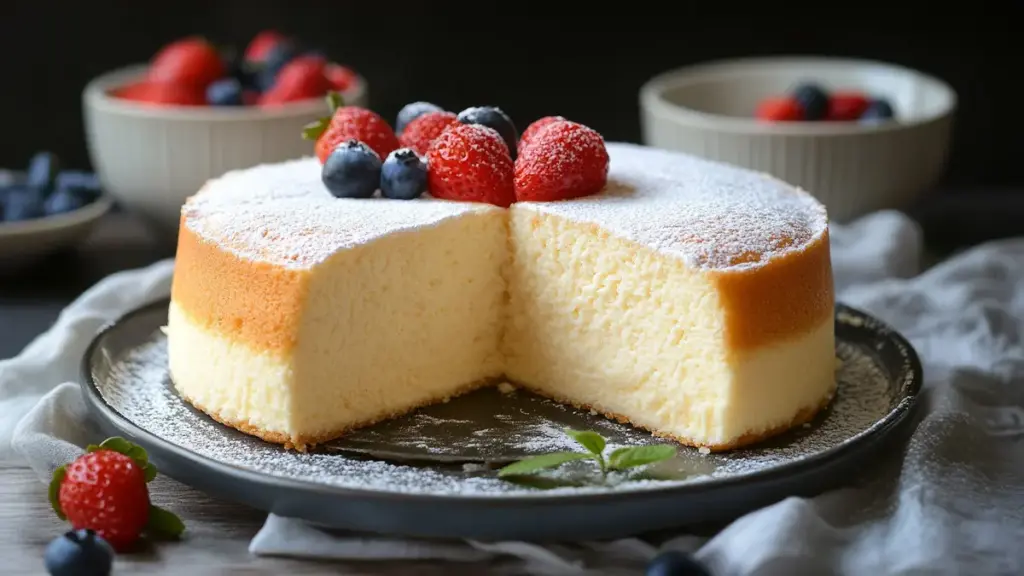
For an elegant finishing touch, dust your Japanese cheesecake with icing sugar. You can also add fresh fruit like strawberries, raspberries or blueberries for a touch of freshness and color. Another option is to top the cake with a red fruit coulis to add a tangy contrast to the sweetness of the cake.
Why does your Japanese cheesecake sometimes fall?
It is normal for Japanese cheesecake to fall slightly after cooling, but if the fall is too great, it may be due to overmixing the egg whites, cooking the cake at too high a temperature, or cooling too quickly. To avoid this, follow the steps in the recipe carefully, especially cooking in a bain-marie and cooling gradually.
Japanese cheesecake is the perfect dessert for those who love light and fluffy cakes. Its airy texture, delicate taste and elegant appearance make it an ideal choice to impress your guests or simply to treat yourself. Follow our recipe and tips to succeed in this unique cake every time. Don't forget to personalize your cheesecake with your favorite ingredients and enjoy it chilled!
Ready to try this recipe at home? Share your creations and tips in the comments below. Enjoy!


